


Step-by-Step Guide to Home Theater Projector Installation for Beginners
Easy DIY tips for flawless projector setup at home

Creating a home theater is one of the most exciting and rewarding home upgrades you can make. At the heart of any true cinematic experience is a projector setup that brings your favorite movies, shows, and games to life on the big screen. However, achieving the perfect setup requires more than just plugging in a device. A successful home theater projector installation involves planning, precision, and a little bit of technical knowledge.
This comprehensive guide is designed specifically for beginners. Whether you’re a movie buff, a gamer, or someone who wants to elevate their living room entertainment, this guide will walk you through everything you need to know about home theater projector installation. From understanding the basics to selecting tools, avoiding common mistakes, and achieving a professional-quality setup, we’ve got you covered.
What is Home Theater Projector Installation?
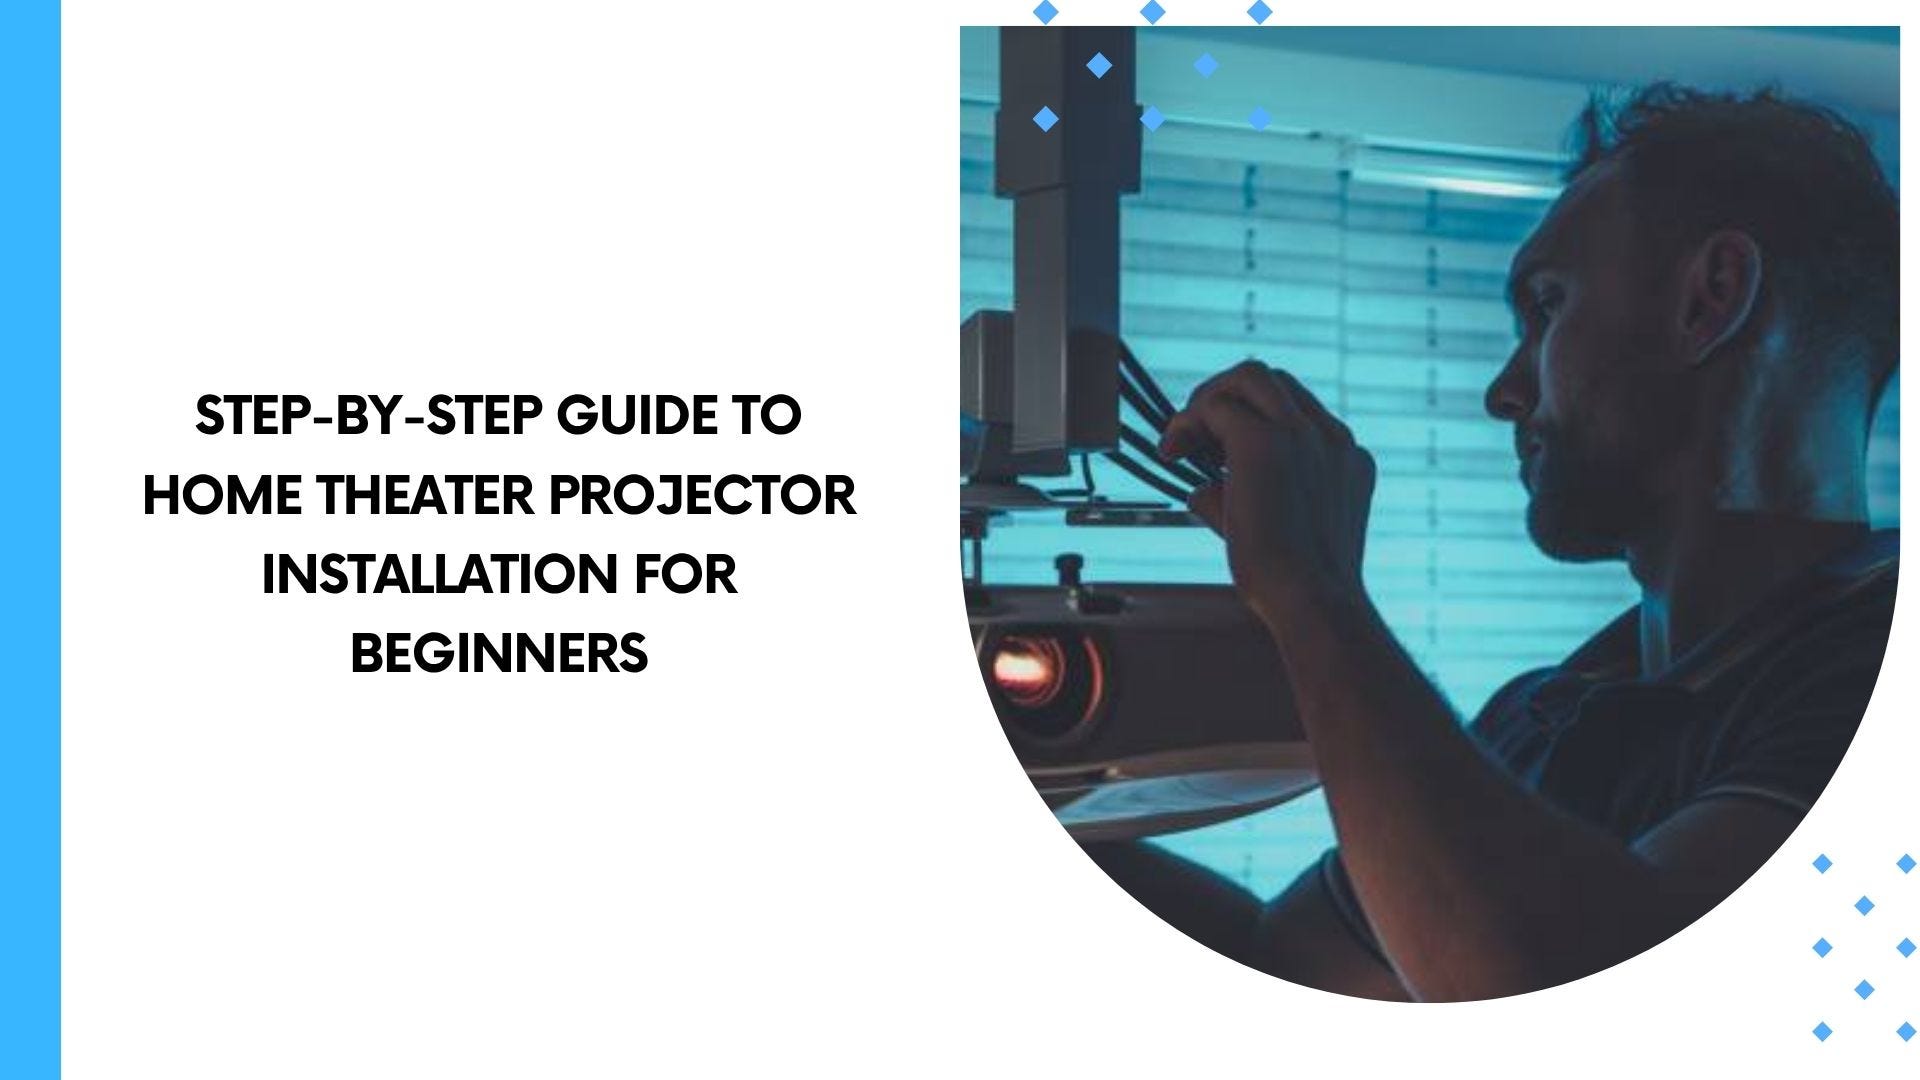
Home theater projector installation refers to the process of setting up a projector system within your home to create a theater-like viewing experience. This includes choosing the right projector, identifying the optimal location, securely mounting the projector (often to the ceiling), connecting it to video and audio sources, and calibrating it for peak performance.
A proper home theater projector installation ensures:
Crystal-clear visuals
Proper screen alignment
Minimal distortion and keystone effects
Optimal sound synchronization
Comfortable and immersive viewing for everyone in the room
Key aspects of installation include:
Throw distance and projector placement
Ceiling or wall mounting
Cable routing and concealment
Integration with sound systems
Lighting control for contrast enhancement
Understanding these components lays the foundation for a successful installation.
Essential Tools and Accessories for a Smooth Home Theater Projector Installation
To ensure a smooth home theater projector installation, you’ll need some essential tools and accessories. These not only make the process easier but also ensure safety and accuracy.
Tools:
Stud finder: To locate ceiling joists or wall studs for secure mounting
Drill and drill bits: For making pilot holes and securing brackets
Screwdriver set: For attaching mounts and hardware
Measuring tape: To measure distances accurately
Level or laser level: For perfect horizontal and vertical alignment
Wire cutter/stripper: For managing and terminating cables
Cable management kit: For routing and organizing wires
Accessories:
Ceiling or wall mount: Make sure it’s compatible with your projector
HDMI cables: High-speed cables for video signal
Extension cords/power strips: Surge-protected for safety
Projector screen: Fixed, retractable, or painted wall
AV receiver or soundbar: For enhanced audio experience
Remote control or universal remote: For convenient operation
Having these tools and accessories ready before you begin can save time and help avoid costly errors during your home theater projector installation.
How to Upgrade Your Home Theater Projector Installation for the Ultimate Experience
If you already have a basic setup and are looking to enhance your viewing experience, consider these upgrades to take your home theater projector installation to the next level:
1. 4K or Ultra HD Projector
Upgrade from 1080p to 4K resolution for crisper images, especially on larger screens.
2. High-Gain Projector Screen
A high-gain screen improves brightness and contrast, even in rooms with ambient light.
3. Smart Home Integration
Control lights, sound, and the projector using a smart home assistant or mobile app.
4. Acoustic Treatment
Add sound panels to the walls to reduce echo and improve audio clarity.
5. Motorized Screens and Mounts
Automated screens and projector lifts can be hidden when not in use.
6. Dedicated Media Room Design
Convert a room into a fully isolated theater space with tiered seating, dimmable lights, and acoustic insulation.
Upgrading your home theater projector installation ensures a more immersive, luxurious, and convenient entertainment environment.
Step-by-Step Guide to Home Theater Projector Installation for Beginners
Follow these steps for a successful home theater projector installation:
Step 1: Choose the Right Projector
Consider your room size, lighting, and screen size
Match throw ratio with your room depth (use a throw calculator)
Ensure compatibility with your media sources (HDMI, USB, etc.)
Step 2: Plan the Layout
Decide on seating arrangement and screen size
Determine the throw distance
Mark the projector location on the ceiling or wall
Step 3: Install the Projector Mount
Locate ceiling joists using a stud finder
Drill pilot holes and secure the mount using bolts
Attach the projector to the mount, ensuring it's level and secure
Step 4: Set Up the Screen
Mount the projector screen or paint a high-contrast wall
Ensure it's centered and level with the projector lens
Step 5: Connect the System
Plug in HDMI cables from source devices (e.g., Blu-ray, streaming box)
Connect power cords and route them through cable channels
Sync with your audio system (AV receiver or soundbar)
Step 6: Calibrate the Projector
Adjust zoom, focus, and keystone settings
Use built-in test patterns or a calibration disc
Fine-tune brightness, contrast, color temperature
Step 7: Optimize the Environment
Dim the lights or install blackout curtains
Minimize ambient light from windows or reflective surfaces
Use carpet and curtains for better sound absorption
Step 8: Test and Enjoy
Run a demo video to test picture and sound
Sit in different areas to ensure everyone has a clear view
Make any final adjustments to settings or seating
A carefully planned and executed home theater projector installation creates a truly immersive cinematic atmosphere.
Conclusion
A successful home theater projector installation is more than just setting up a screen and plugging in a projector. It involves thoughtful planning, the right tools, precise measurements, and attention to detail. Whether you’re a beginner taking your first step into home entertainment or upgrading an existing setup, following a structured installation process ensures a professional-grade experience.
With the knowledge shared in this guide, you can confidently transform any room into a cinematic escape. From essential tools to advanced upgrades, every decision you make during the home theater projector installation process plays a key role in the final result. So take your time, plan thoroughly, and get ready to enjoy the show from the comfort of your home.